How to Create Automatic Workflows: From Theory to Practice
Learn how to build automatic workflows in your CRM with triggers, conditions and actions that save hours of manual work every week.

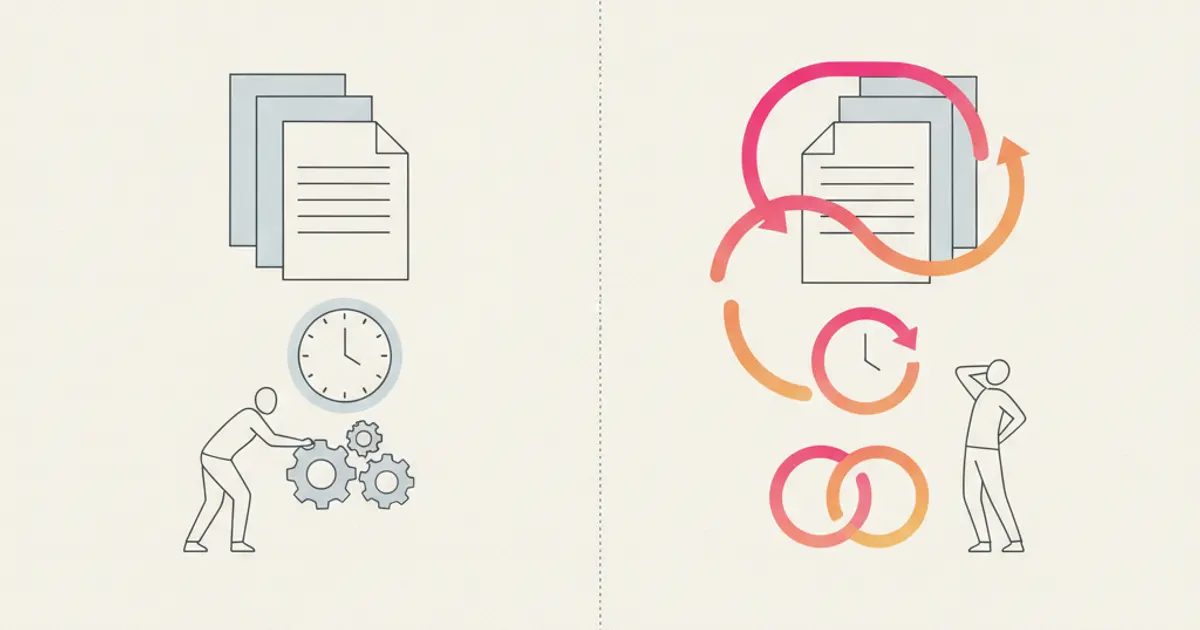
You have heard the word "automation" a hundred times. Consultants talk about it. Software vendors promise it. LinkedIn is full of posts about it. But when you sit down at your desk on Monday morning, you still manually assign leads, send the same follow-up email for the tenth time, and create tasks that could have been generated automatically.
The gap between knowing automation exists and actually implementing it is where most SMEs get stuck. The concept sounds complex — workflows, triggers, conditions, branching logic. But here is the truth: if you can describe a process as "when X happens, do Y," you can automate it. No coding required. No IT department needed.
This guide takes you from theory to practice. We start with the fundamentals, move through real-world examples, and end with a system you can build in an afternoon that will save your team hours every single week.
The anatomy of a workflow
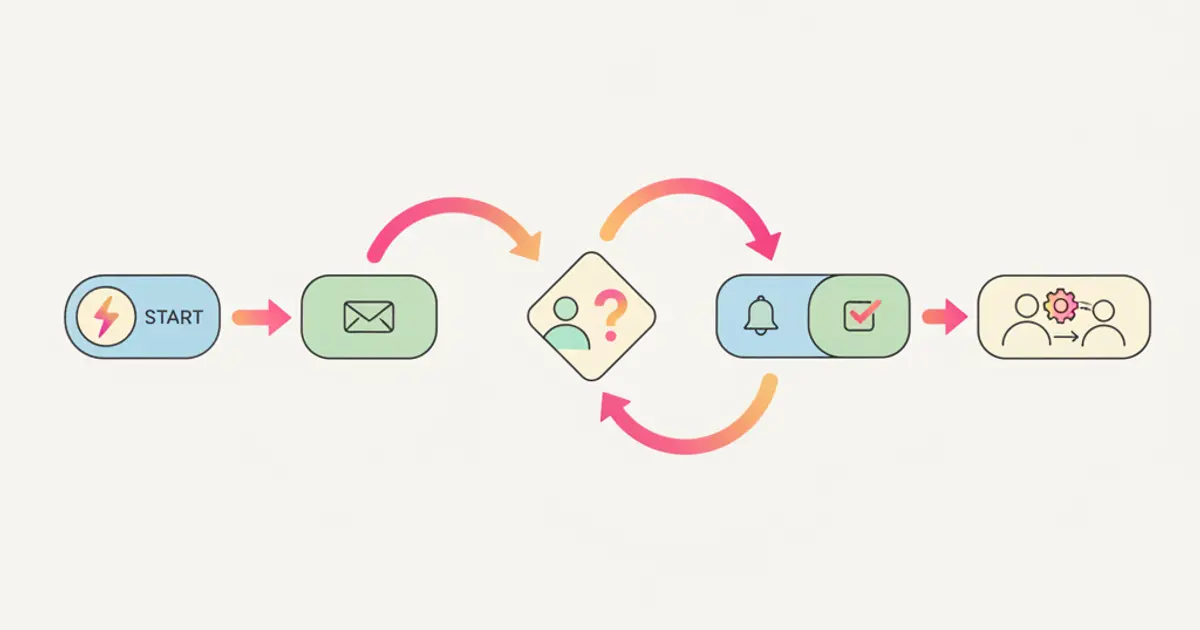
Every automatic workflow, regardless of how sophisticated it becomes, is built from three fundamental components. Understanding these three building blocks is the only prerequisite you need before you start creating your own automations.
Triggers are the events that start a workflow. Think of them as the "when" in your process. A new lead is created. A deal changes stage. A task becomes overdue. A client sends a WhatsApp message. A form is submitted on your website. A specific date or time is reached. Every workflow begins with one of these moments, and the system watches for them continuously so you do not have to.
Conditions are the decision points — the "if" that determines which path the workflow follows. You might want the automation to fire only if the deal value is above a certain threshold, or only if the client belongs to a specific category. Perhaps the lead source matters: a contact arriving through WhatsApp should be handled differently from one who filled out a web form. Conditions can be combined using AND/OR logic, giving you precise control over when an action should execute and when it should be skipped.
Actions are what happens automatically once the trigger fires and the conditions are met. This is where the real time savings live. The system can send an email or a WhatsApp message, create a task and assign it to the right person, move a deal to a different pipeline stage, update a field on the contact or deal record, send a notification to a team member, or wait for a specified period before performing the next step. Actions can be chained together, so a single trigger can set off an entire sequence of operations that would otherwise require manual intervention at every step.
Five workflows every SME should build
You do not need to automate everything at once. Start with these five workflows, each of which addresses a common pain point that most growing businesses share. Together, they form the backbone of an efficient operation.
Workflow 1: New lead nurturing
When a new lead arrives from your web form, the clock starts ticking. Research consistently shows that the probability of qualifying a lead drops dramatically after the first hour. Yet in most SMEs, a new lead sits in the system unnoticed until someone happens to check. This workflow changes that entirely.
The moment a lead is created, the system sends a welcome email acknowledging their interest and setting expectations for next steps. Simultaneously, it assigns the lead to an available salesperson based on your distribution rules — round-robin, geographic territory, or deal size, depending on your setup. A follow-up task is created for 24 hours later, ensuring the assigned rep makes personal contact. And if no interaction has been logged within 48 hours, a reminder goes to the manager so no opportunity falls through the cracks.
This single workflow, once built, replaces what used to be a manual process involving checking the inbox, forwarding the lead to a colleague, remembering to follow up, and hoping someone actually does it. If you want to learn more about lead management best practices, our guide on how to manage leads without losing them covers the full picture.
Workflow 2: Deal stagnation alert
Deals that sit in the same pipeline stage for too long are the silent revenue killers. They represent money that should be moving toward your bank account but instead is collecting dust. Often, the deal owner is too busy to notice, or they have moved on to newer, more exciting opportunities.
This workflow watches for deals that have not changed stage in seven days. It checks whether the deal value exceeds a minimum threshold — because you do not need alerts for every small opportunity — and if it does, it sends a notification to the deal owner with a gentle reminder to take action. If the deal remains stagnant after fourteen days, the system escalates it to the manager. This escalation is not about blame; it is about making sure valuable opportunities get the attention they deserve.
The impact of this workflow alone can be substantial. Many businesses discover that a significant portion of their pipeline is technically alive but practically abandoned. By surfacing these deals automatically, you give your team the chance to re-engage before the prospect goes elsewhere. For a deeper dive into pipeline management, check out our sales pipeline guide.
Workflow 3: Post-sale onboarding
The moment a deal is marked as won should trigger a cascade of actions that gets the client experience off to a strong start. Manually coordinating this handoff between sales and delivery is where many businesses drop the ball — the salesperson has moved on, the delivery team does not have all the details, and the client waits in a vacuum.
With this workflow, the system reacts to a deal being marked as won by creating a project with a predefined task template tailored to that type of engagement. It sends a welcome message to the client via WhatsApp, generates a draft invoice in the billing queue, and notifies the delivery team with all the relevant deal details. Everything happens within seconds, and nothing depends on someone remembering to do it.
Workflow 4: Overdue task escalation
Tasks go overdue for many reasons — shifting priorities, workload spikes, simple forgetfulness. The problem is not that a task is late; it is that nobody knows it is late until a client complains or a deadline is missed in a chain of dependent tasks.
This workflow monitors task due dates. When a task passes its deadline without being completed, a reminder goes to the assignee. If 24 hours pass and the task is still open, the project manager receives a notification. At 72 hours overdue, the project health is automatically flagged as at risk, making the issue visible in dashboards and reports. This graduated escalation gives people a chance to self-correct before the situation becomes a management issue.
Workflow 5: Client re-engagement
Acquiring a new client costs five to seven times more than retaining an existing one — a figure that most business owners know in theory but rarely act on in practice. Dormant clients, those who have not interacted with your business for 90 days or more, represent untapped revenue that is far cheaper to unlock than new business.
This workflow identifies active clients with no recent interactions and no open deals. When those conditions are met, it creates a task for the account manager to reach out. The prompt is enough to trigger a conversation that might lead to a new project, an upsell, or simply a strengthened relationship. Over time, this workflow alone can meaningfully impact your retention rate.
Building your first workflow step by step
Theory is useful, but building is better. Here is the practical process for creating your first workflow, designed to get you from zero to live in a single sitting.
Start by picking one process that you repeat at least five times per week. Frequency matters because the time savings compound. A task you do once a month is not worth automating first; a task you do daily is. Write the process out in plain language before you touch the workflow builder. Use the format "when this happens, I always do that." If you can describe it in a sentence or two, it can be automated.
Open the workflow builder and set the trigger — the event that starts the process. Add conditions if needed; not every workflow requires them, but they add precision. Then define your actions in sequence. Each action should map to one step in the plain-language description you wrote earlier. Once the workflow is configured, test it with a real scenario before activating it. Create a test lead, move a test deal, or simulate the trigger to see if the automation behaves as expected.
After activation, monitor the workflow for a week. Check that it fires when it should and does not fire when it should not. Adjust conditions or timing if needed. Most workflows require a small tweak or two after their first real-world run. This is normal and expected — it does not mean the automation is broken, just that reality has nuances your initial design did not anticipate.
If you are just getting started with your CRM, our guide on configuring your CRM in the first 30 days provides a broader framework for setup, including where workflows fit into the initial rollout.
Advanced patterns
Once you are comfortable with basic trigger-condition-action workflows, several advanced patterns unlock even more power.
Branching allows a single trigger to lead to different outcomes based on conditions. A new deal, for example, might follow one path if the value is above a certain threshold and a completely different path if it is below. The high-value path might involve a personal call from a senior sales rep, while the standard path sends an automated email. Both are handled by the same workflow, reducing the number of automations you need to maintain.
Delays introduce intentional waiting periods between actions. Instead of sending a follow-up email immediately after the first one, you can wait 24 or 48 hours. This makes your automated communication feel natural rather than robotic. Delays can also be used strategically — for instance, waiting until the next business day before creating a task.
Multi-trigger workflows let the same set of actions be initiated by different events. Perhaps you want the same onboarding sequence to run whether a deal is closed via the pipeline, converted from a form submission, or created manually. Rather than building three separate workflows, you create one with multiple triggers.
Webhook integrations extend your workflows beyond the CRM. When a workflow fires, it can send data to an external service through a webhook, allowing you to connect your automations to tools outside your CRM without writing code. This is especially useful for businesses that need to notify external systems or synchronize data with platforms that do not have native integrations. You can explore more about reducing manual work in our guide on automating manual tasks for your team.
Measuring workflow effectiveness
Building workflows is only half the job. Measuring their impact ensures they continue to deliver value and do not become stale configurations that nobody reviews.
Execution count tells you how many times each workflow runs per period. A workflow that fires fifty times a week is saving significantly more time than one that fires twice. If a workflow is barely executing, it might be targeting a scenario that rarely occurs, and your effort would be better spent elsewhere.
Time saved is the most tangible metric. Estimate how many minutes the manual equivalent of each workflow step takes, multiply by the execution count, and you have a concrete number. For a team of five, even a modest workflow that saves ten minutes per execution, running twenty times a week, recovers over three hours of productivity weekly.
Error rate matters because automations should do what they are supposed to do. If an automated email is going to the wrong segment, or a task is being assigned to someone who is no longer on the team, the workflow is creating problems rather than solving them. Regular audits catch these issues before they become entrenched.
Conversion impact connects your workflows to business outcomes. Do leads that receive the automated follow-up convert at a higher rate than those that do not? Do deals in pipelines with stagnation alerts close faster? These are the questions that justify expanding your automation strategy.
Finally, schedule a quarterly workflow audit. Review every active workflow, deactivate those that no longer serve a purpose, and identify new processes that have become repetitive enough to automate. Your business evolves, and your workflows should evolve with it. For more on tracking your sales performance with custom dashboards and reports, we have a dedicated guide that complements your workflow measurement strategy.
Share this article
Written by
Flusia Team
Related articles
Your Team Wastes 5 Hours a Week on Manual Tasks: Here's How to Automate
Discover which repetitive tasks drain your team's time and how workflow automation can give you back 5+ hours every week.

AI in CRM: 10 Things Artificial Intelligence Does for You (While You Work)
Discover 10 practical ways AI inside your CRM automates tasks, scores leads, transcribes meetings and helps your team sell smarter in 2026.
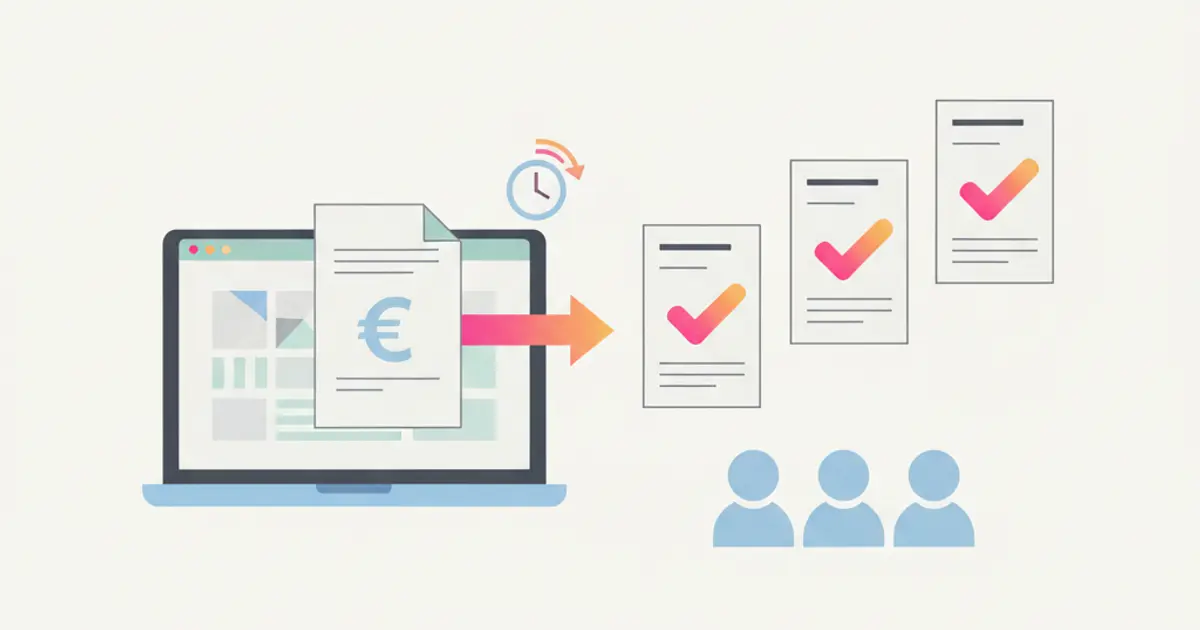
Late Invoices? How to Automate Billing and Get Paid Faster
Learn how to automate invoicing in your SME with automatic queues, Fatture in Cloud integration and smart payment reminders.